
Characters Preset
To engage in combat against enemies, you must first establish a group of playable characters.
1. Character Creation via Item Definitions
- This guide covers the process of defining characters using Item Definitions and configuring them into a functional party via Game Presets.
- In this system, characters are constructed using the Item Definition module.
Configuration Steps:
- Name: Assign a unique identifier. For JRPGs, use specific character names; for traditional RPGs, job classes (e.g., Warrior, Mage) are recommended.
- Category: You must set this to Character.
- Base Stats: At a minimum, define the following three attributes required by the Battle Script:
attackdefensehp
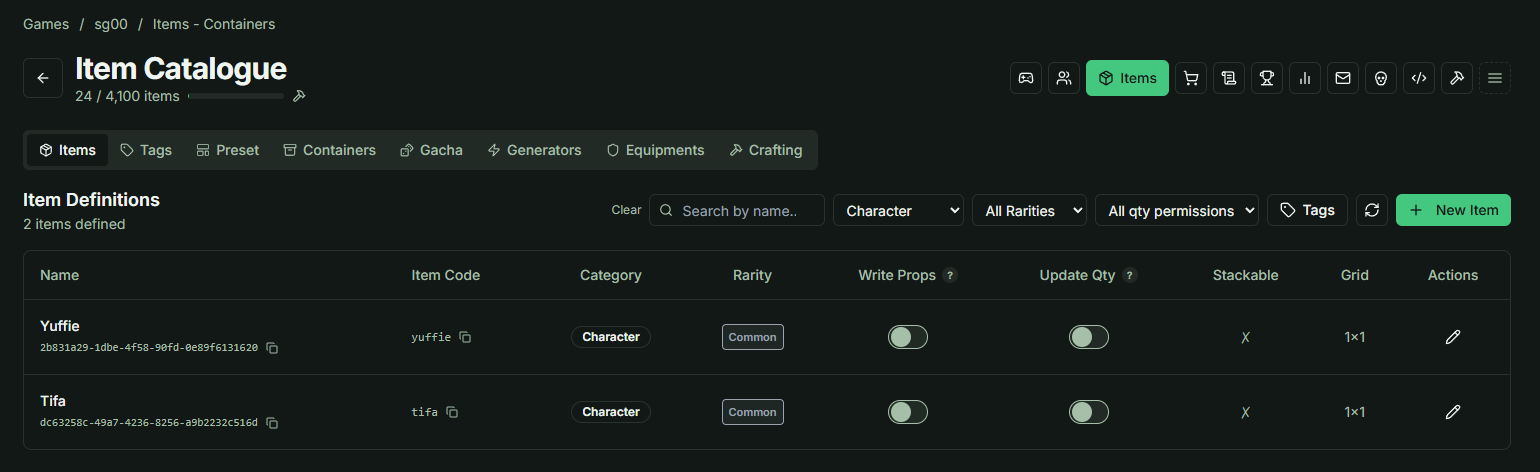
Note You may add custom attributes later to support unique gameplay mechanics, but the three listed above are mandatory for core script execution.
Verification:
Ensure that your Test Player account owns the newly created character items before proceeding to script testing.
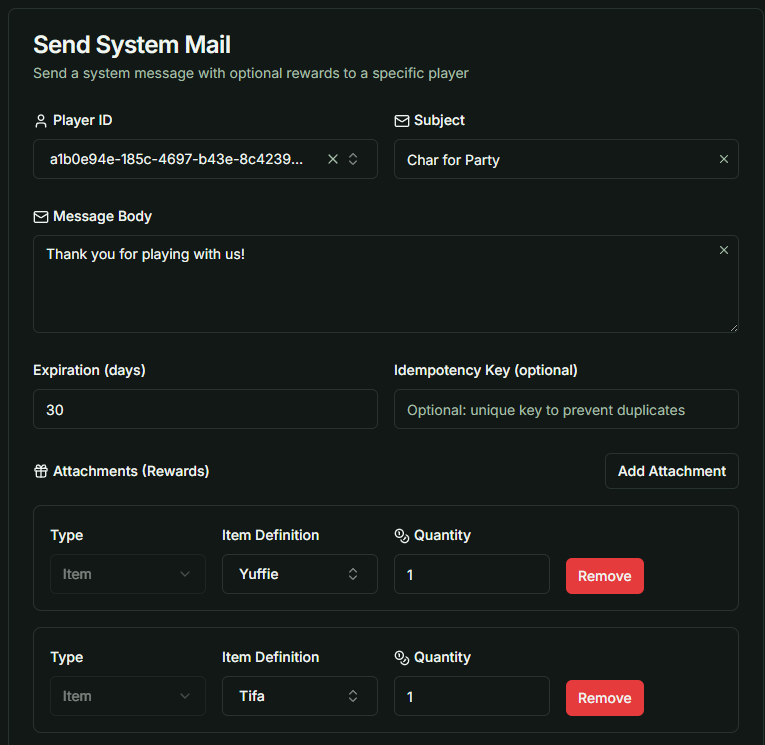
2. Setting Up Game Presets
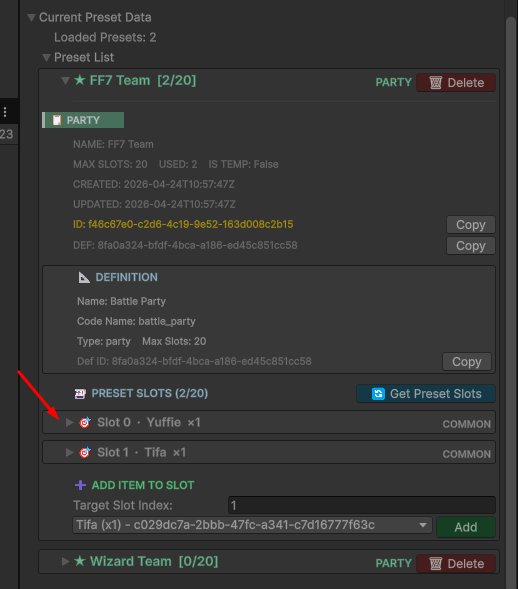
Game Presets serve as the framework where players organize their characters into a functional party for Battle Scripts.
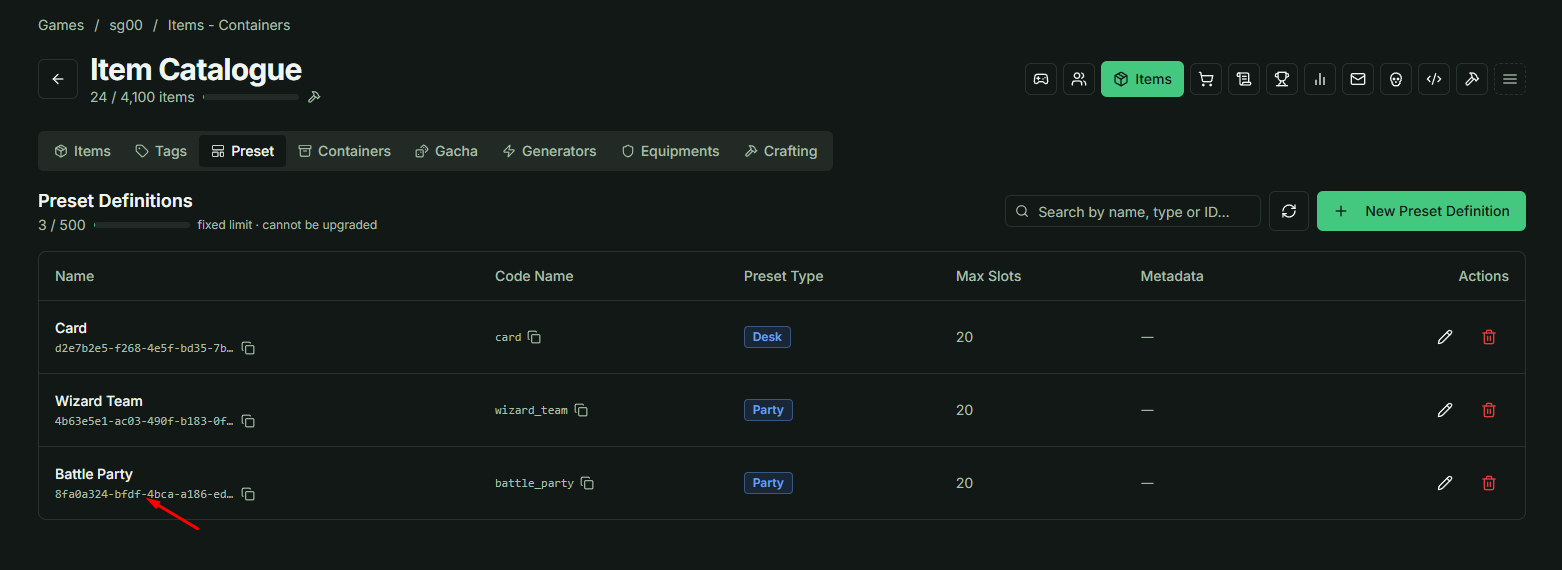
- Logic Note: By default, the Battle Script does not include a mechanism to randomly select characters from a Preset. If your design requires randomized participants, you must implement this logic manually within your Lua script.
3. Finalizing the Party in Game Client
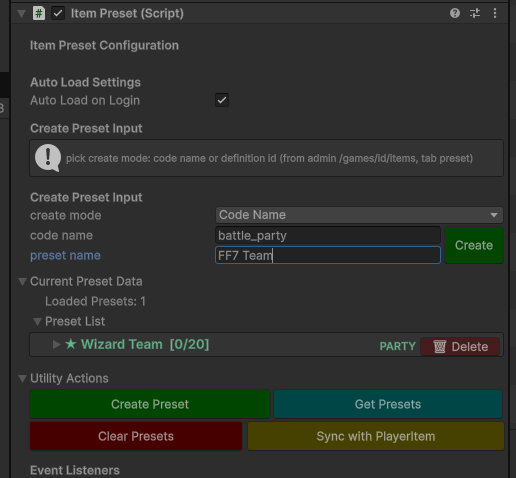
To complete the setup, navigate to the Game Client and perform the following:
- Create a Party based on your established Game Preset.
- Add Characters from the Item Definitions into the Preset slots.
 |  |
|---|
Once these steps are finalized, your environment is fully prepared for Battle Script implementation.